Jenkins installation is pretty straightforward as such, however its recommended to install and setup Jenkins within a VM using Vagrant to test out all your configurations before moving the changes over to Jenkins Production. Once tested you can use a configuration management tool like Puppet to push all your configurations.
This post describes how to install and setup Jenkins server within a Virtual Box VM using Vagrant.
Step 1. Install Virtual Box and Vagrant
Step 2: Open up terminal and run vagrant init
mkdir vagrant-jenkins; cd vagrant-jenkins; vagrant init
Step 3: Open the Vagrantfile created above and add replace the contents of the file with the following:
# -*- mode: ruby -*-
# vi: set ft=ruby :

Vagrant.configure("2") do |config|
 config.vm.box = "ubuntu/trusty64"
 config.vm.network "forwarded_port", guest: 8080, host: 6080
 config.vm.provider "virtualbox" do |vb|
   vb.memory = "1024"
 end
end
This may take anywhere between 30 mins to 45 mins for the first time as it downloads ubuntu from vagrant’s repository which will be re-used for any additional vms you create.
Step 4: Start the vagrant VM by running the following command where your Vagrantfile is:
vagrant up
Step 5: Once the above command execution is complete you can log into the VM by running the following command:
vagrant ssh
Step 6: Now Lets add provisioning tasks for Jenkins within the vagrant bootup. Add the provisioning section within your Vagrantfile towards the end. Your Vagrantfile file should look something like the following after the section is added:
wget -q -O - https://pkg.jenkins.io/debian/jenkins-ci.org.key | sudo apt-key add -
sudo sh -c 'echo deb http://pkg.jenkins.io/debian-stable binary/ > /etc/apt/sources.list.d/jenkins.list'
sudo apt-get update
sudo apt-get install jenkins
Your Vagrantfile should not look like this:
# -*- mode: ruby -*-
# vi: set ft=ruby :

Vagrant.configure("2") do |config|
config.vm.box = "ubuntu/trusty64"
config.vm.network "forwarded_port", guest: 8080, host: 6080
config.vm.provider "virtualbox" do |vb|
 vb.memory = "1024"
end
config.vm.provision "shell", inline: <<-SHELL
 apt-get -y update
 wget -q -O - https://pkg.jenkins.io/debian/jenkins-ci.org.key | sudo apt-key add -
 sudo sh -c 'echo deb http://pkg.jenkins.io/debian-stable binary/ > /etc/apt/sources.list.d/jenkins.list'
 sudo apt-get -y update
 sudo apt-get -y install jenkins
SHELL
end
Step 7: Run vagrant provision to the run the provision specific section or destroy and recreate the VM
vagrant provision; vagrant reload
OR
vagrant destroy -f; vagrant up
Step 8: Log in to the server and open up port 6080 , which is configured in the Vagrantfile
vagrant ssh
sudo ufw allow 6080
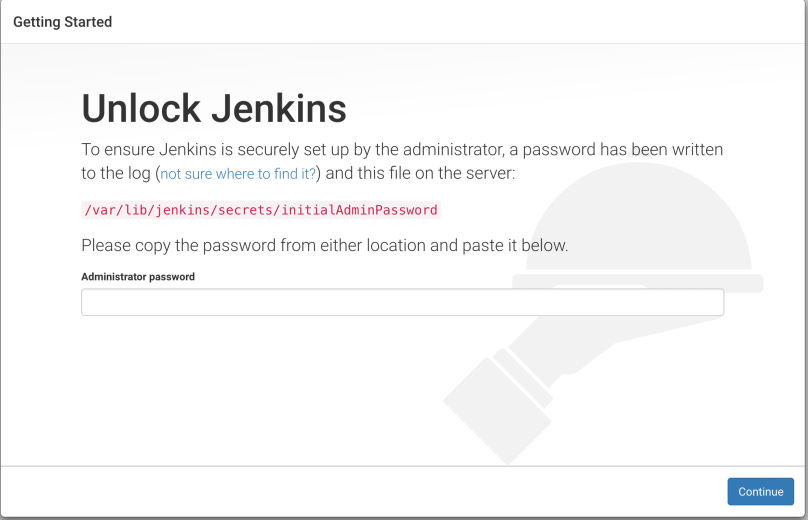
You can now access the Jenkins server via http://localhost:6080
